|
Solid Wood Flooring
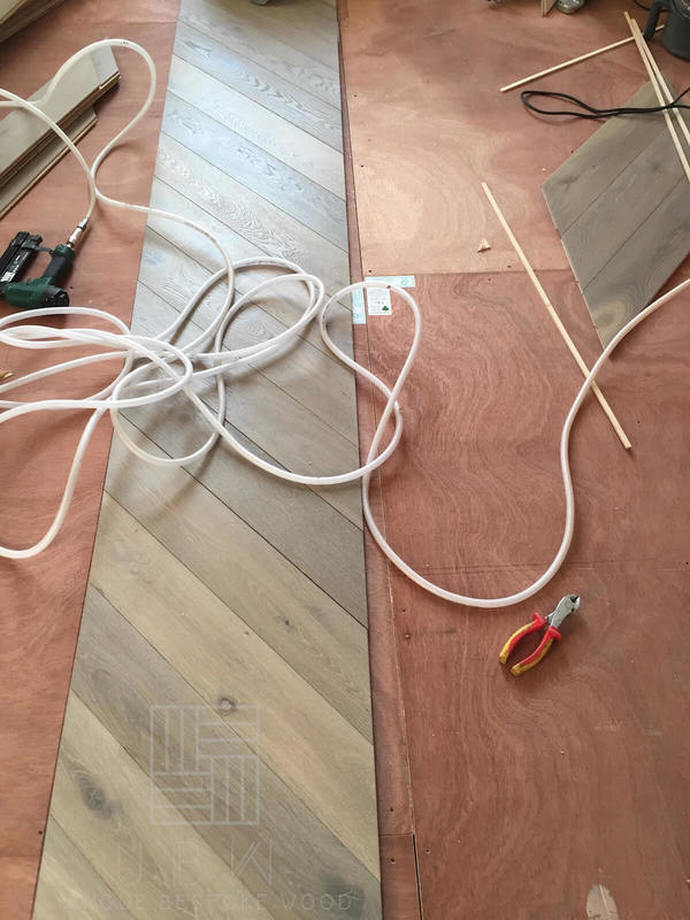
Installing or laying a solid wood floor can be carried out as a DIY project. If this is something you are inclined to do, there are a few steps you must follow especially when laying the wooden floor around the edges. When the hardwood flooring first arrives, it is ideal to allow it acclimatize to the conditions around the room before it is installed. Since there is more tendency of solid wood flooring to be slightly displaced, you must use a fixed method rather than ‘floating’ when laying the floor. Hardwood flooring can be fixed to existing timber, and concrete, and floor joists. When fixing solid wood flooring to pre-existing timber, nailing is the ideal option. Laying the board at a 90° angle will prove to be a great idea but it is not so vital. It is only essential when nailing the flooring to floor joists. The timber serves as an underlay so this is hardly important, but you can still use slatted underlays for this purpose as they ensure the flooring is glued to the pre-existing floor. Before you begin the laying of wood floor to existing timber, ensure the skirting boards at the base of the wall are removed. Some homeowners prefer to leave the boards, and while this may not cause so much trouble, a neat finish is not guaranteed. Hardwood flooring usually comes with tongue-and-groove edges, and depending on how you prefer to fix the boards, they can be either secret nailed or glued. However, before the solid wood is laid, ensure you run an expansion gap of around 15mm throughout the edges of the entire room and at the end of the boards. You can make use of plastic spacers to achieve this. You can also purchase fitting tools to ensure the ends of the board stay together. If you are fixing solid wood flooring to concrete, gluing is the best option. Also note that the self-adhesive membranes for gluing are extremely sticky. This means that once you stick the wood to the membrane, it is literally impossible to remove it. On the other hand, if the concrete is not sound enough, screw a plywood or chipboard as a sub-base at the top of the concrete, then glue or nail the solid wood floor to it. Engineered Wood Flooring Engineered wood flooring is a preferred choice among many homeowners today especially as it is more stable, hence it is less vulnerable to movement. Laying engineering boards around the edges is pretty easy since it is produced with a layer of solid wood, attached to a different softwood layers. Engineered wood flooring also comes along with tongue-and-groove edges that make it possible for the floor to be clicked without any need for gluing or nailing. Due to the design of engineered wood flooring, it can be installed as a floating floor, over a pre-existing floor (tiles, concrete, and timber). It is also designed to be used with an underlay. The better the engineered wood flooring, the thicker the top wood layer would be. The thickness of the top wood layer is important since there may need for sanding in future to repair any patches.
3 Comments
5/4/2022 10:09:40 pm
The timber serves as an underlay so this is hardly important, but you can still use slatted underlays for this purpose as they ensure the flooring is glued to the pre-existing floor. I’m so thankful for your helpful post!
Reply
7/18/2022 01:49:00 pm
hi, this is an excellently explained article, keep up the good work. Cheers!!
Reply
8/2/2022 05:45:31 am
The process that you have shared are really amazing, keep up the good work. Thank you so much for sharing.
Reply
Leave a Reply. |
- Home
-
Collections
- Timeless - Engineered Wood Flooring
- Solid Wood Flooring
- Chevron Parquet Flooring
- Parquet
- Wide Plank Wood Floor
- Live Edge Wood Flooring
- Engineered Ash Wood Floor
- Engineered Walnut Wood Floor
- Textured Wood Flooring
- Versailles Parquet
- Parquet Panels
- Mansion Weave Parquet
- Antique Wood Flooring
- Wood Cladding
- Charred Wood
- Wood For Stairs
- Unfinished Wood Flooring >
- Bespoke Wood Floor
- Services
- Information
- Room Ideas
- BLOG
- Contact
- FAQ
- Trade Program
|
|
|
UNIQUE BESPOKE WOOD
74/76 MONTROSE TERRACE, EDINBURGH, EH7 5DP
UNITED KIGDOM
[email protected] / 01316529873
74/76 MONTROSE TERRACE, EDINBURGH, EH7 5DP
UNITED KIGDOM
[email protected] / 01316529873
FOLLOW US ON SOCIAL MEDIA
© COPYRIGHT 2022. ALL RIGHTS RESERVED.


 RSS Feed